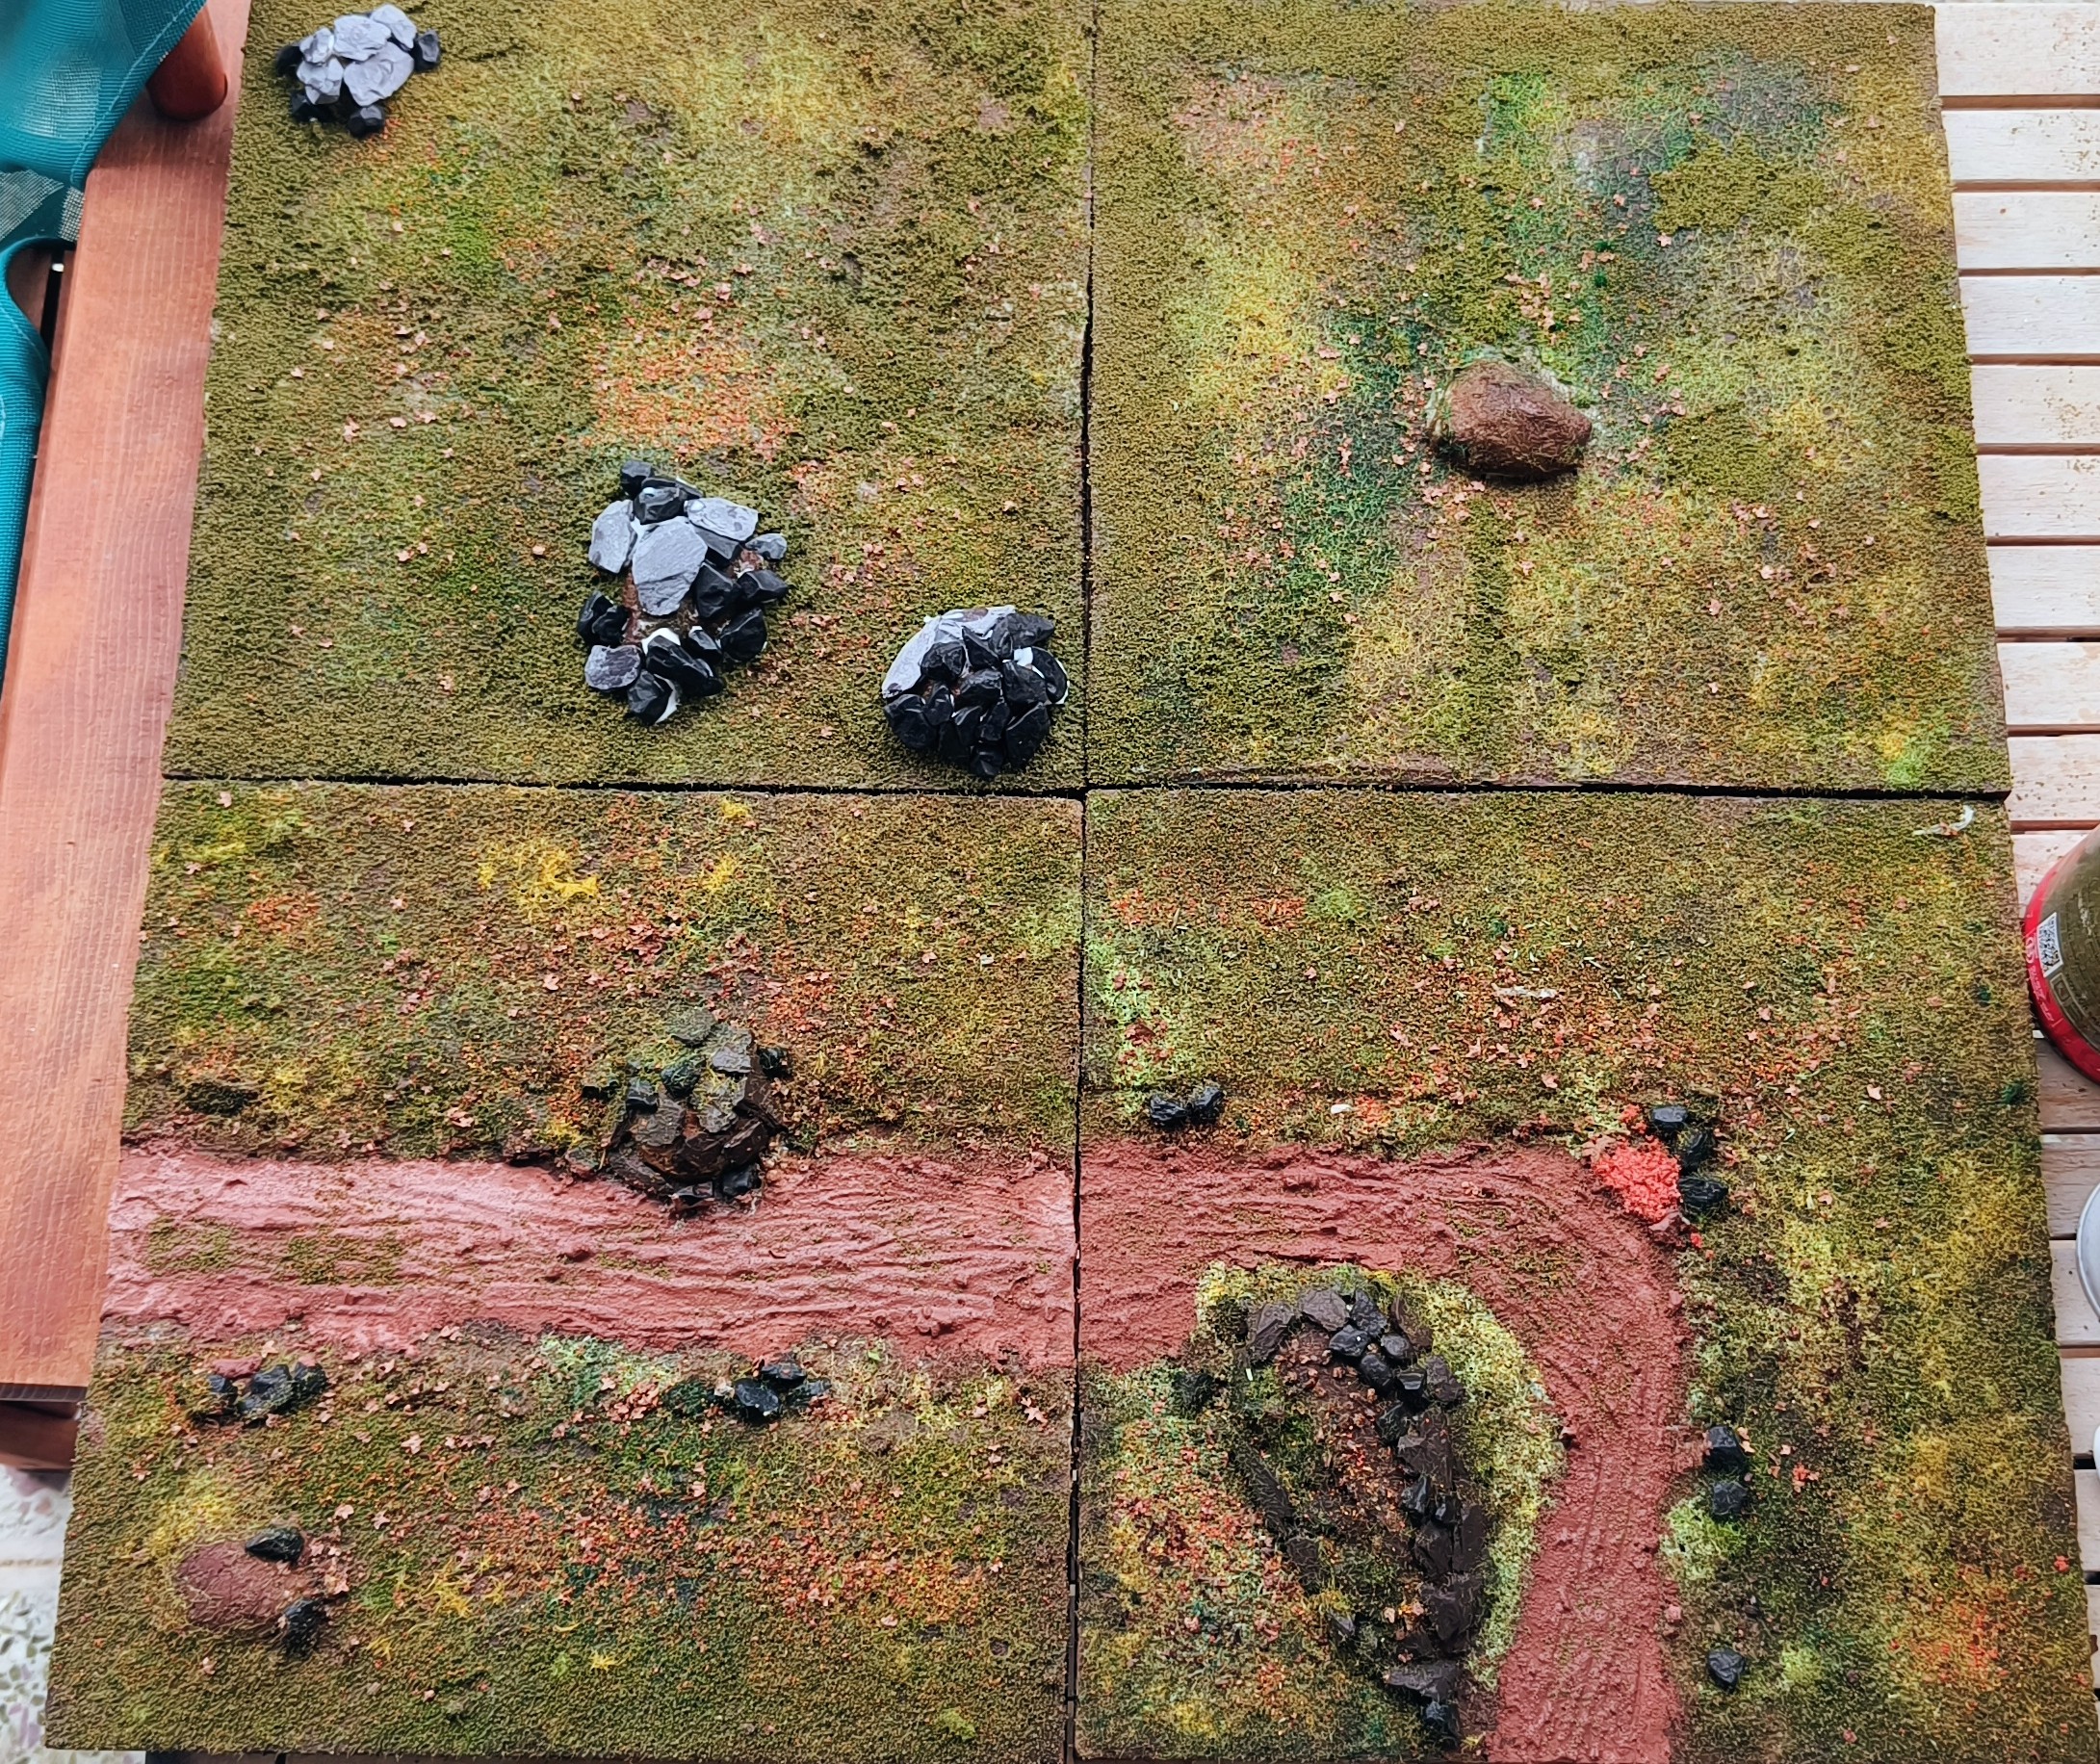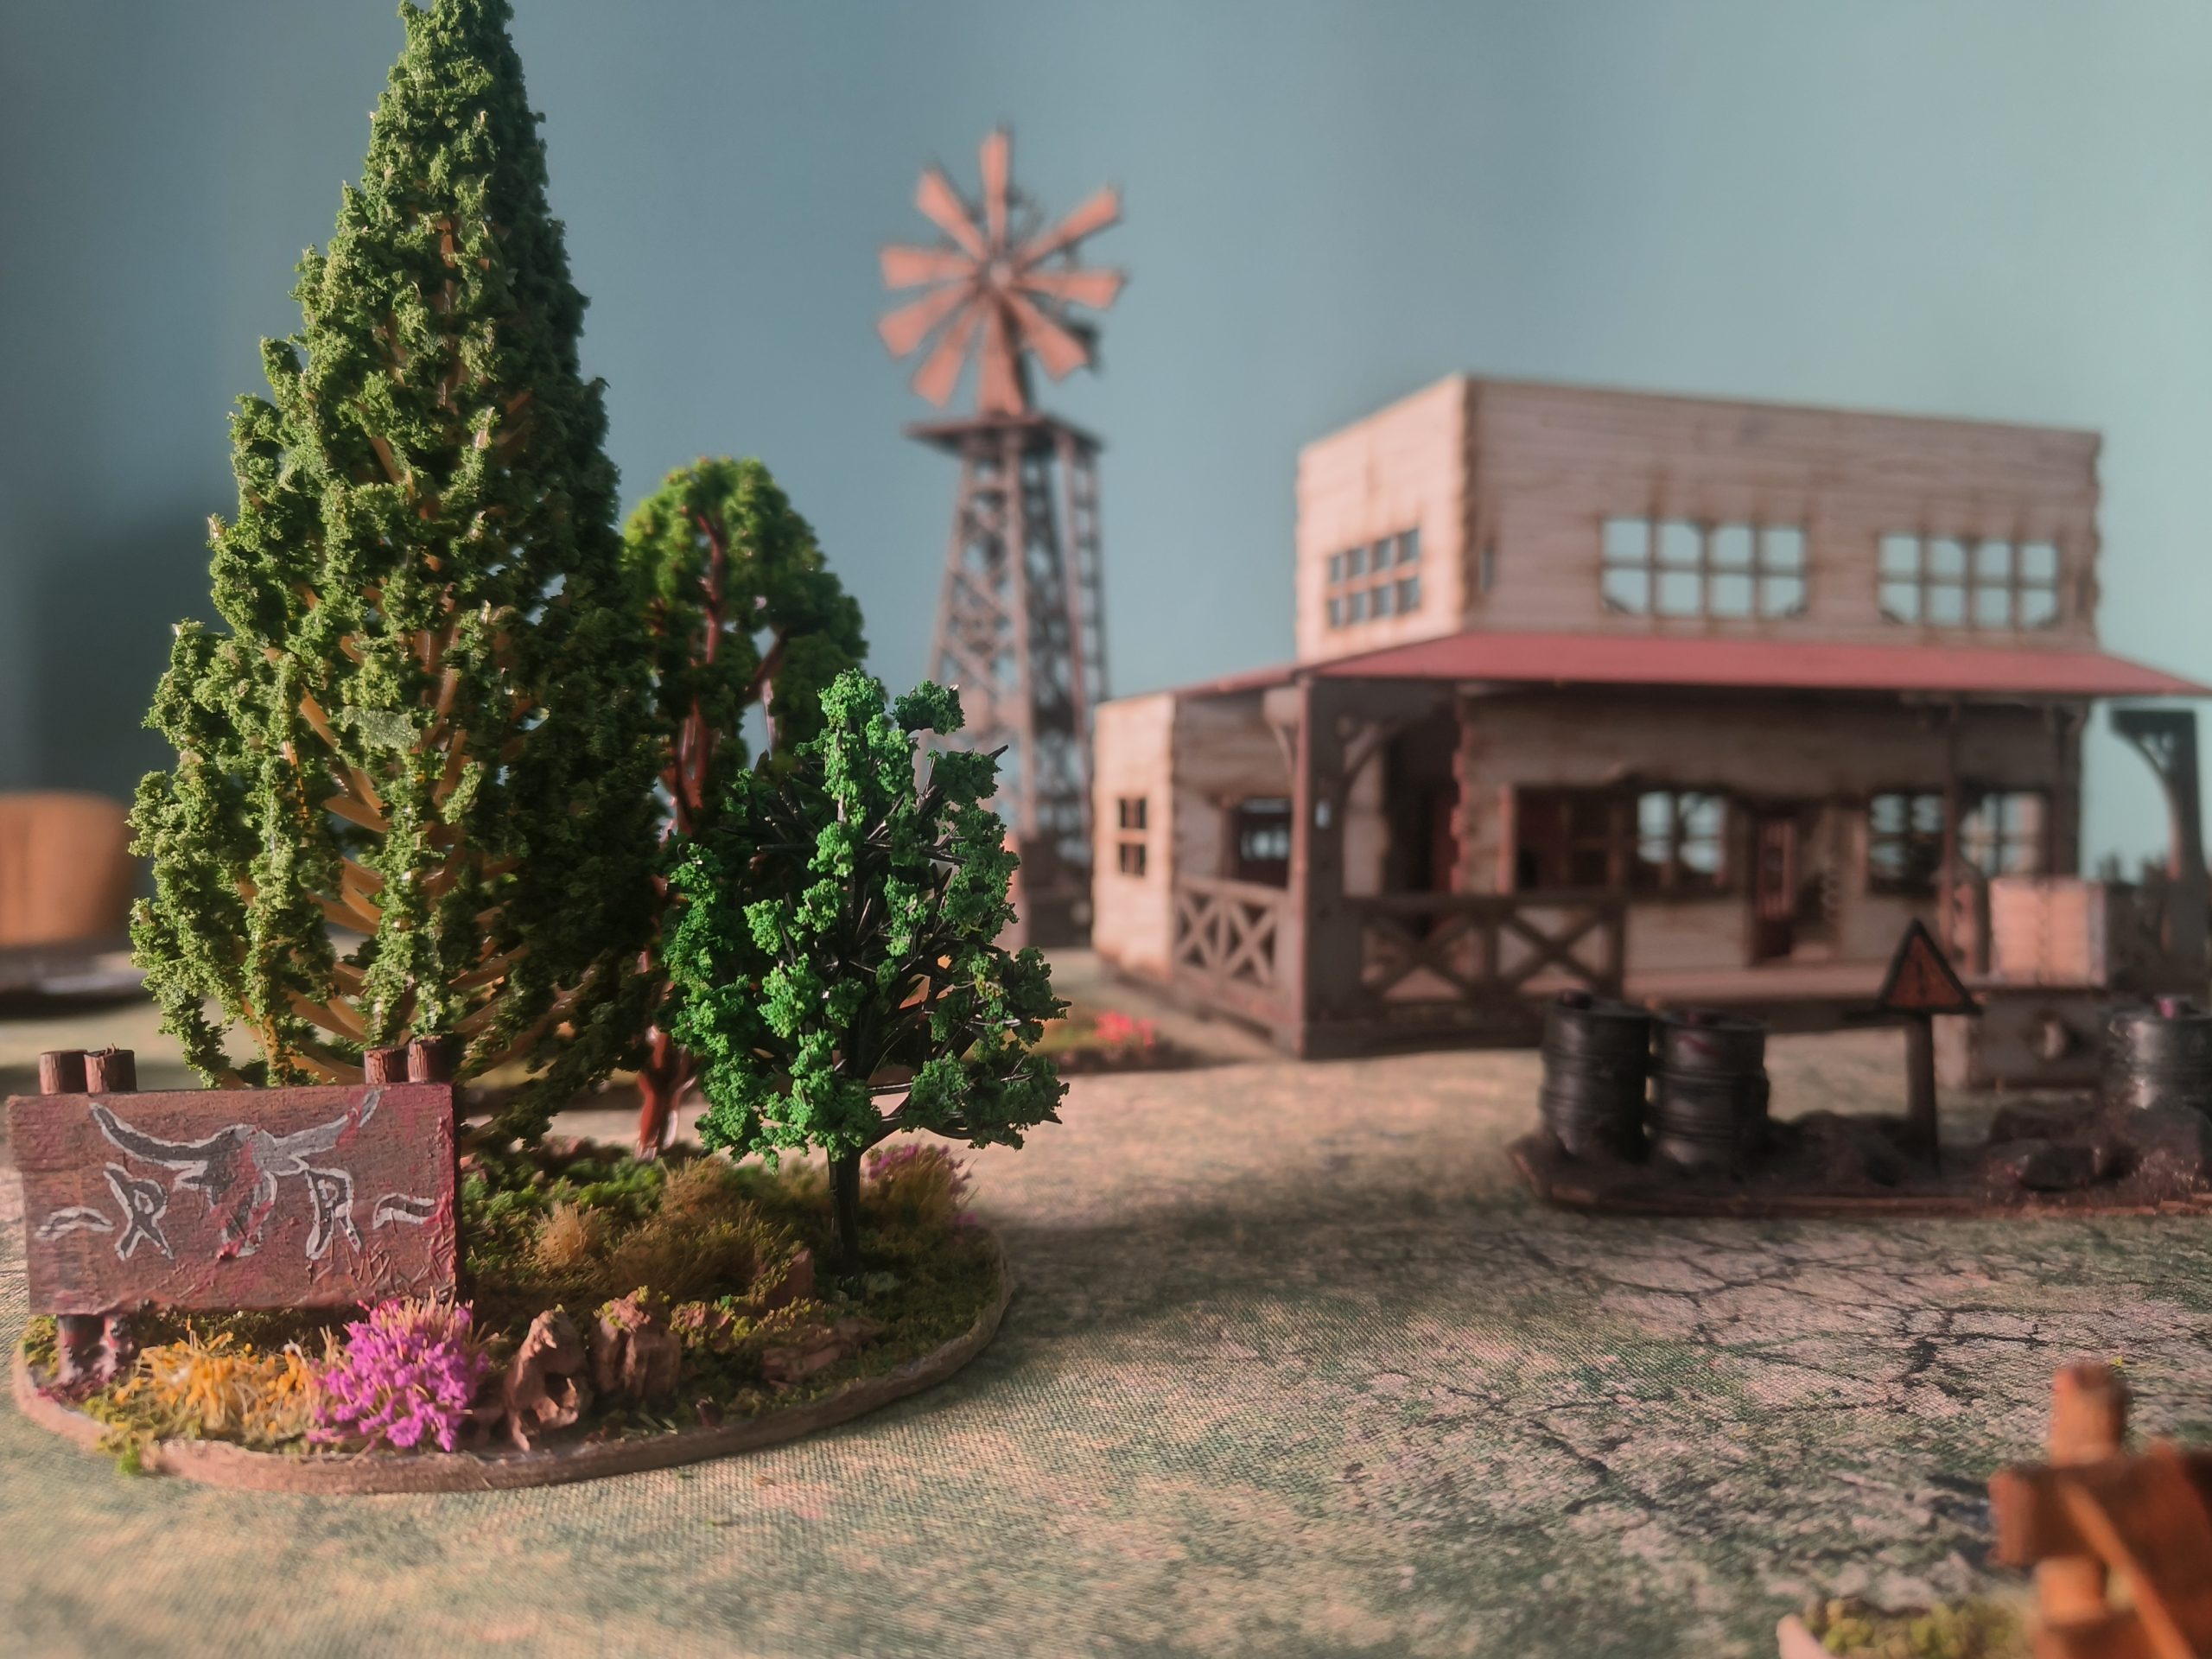

The past months I have amassed a lot of skirmish game books, got into playing a small part of those and it was clear to me that a new project is due time to start.
After the modular tiles created for trench crusade I wanted to test myself with tiles that would be reusable for more than 1 skirmish game, sci-fi, medieval and fantasy alike.
Ideas
I had to make some plan how this would work, materials that I would use and the layout that would make sense for each game and logic. The tiles should fit a 3×3 table, starting with a 2×2 and expanding tiles to make this work for bigger boards.
I decided that the sizes of tiles would be 30cm x 30cm. Practically 4 tiles would make a 2×2 and 9 tiles would make a 3×3 board quite easily.
Each tile base would be made out of mdf thin board and on top of it would have foam of 1cm height that resembles the ground floor.
Dirt roads would be of 0.5cm height to demonstrate that those were dug up the main ground.
The idea was that there will be multiple types of tiles (Grass, River, Roads, Forest, Cobblestone etc) that those would fit together to make a bigger board. For that though it would make sense to start with the simplest and most versatile, the Grass tiles.
I had checked a lot of videos from youtubers, the biggest influence was RP Archive’s youtube videos starting from this.
Demo piece
I haven’t done ground with grass, no idea from roads or even how to make it stick and work properly. So I had to make another test piece. In that piece I would test ground height, compounds used, techniques to use to make it and flocking and detailing.
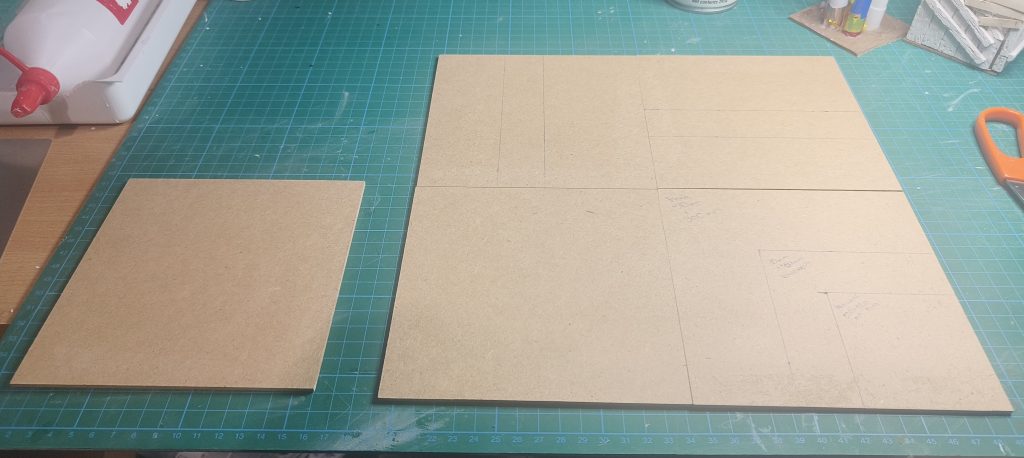
I had some 10cm x 10cm mdf board so I used that for the test piece
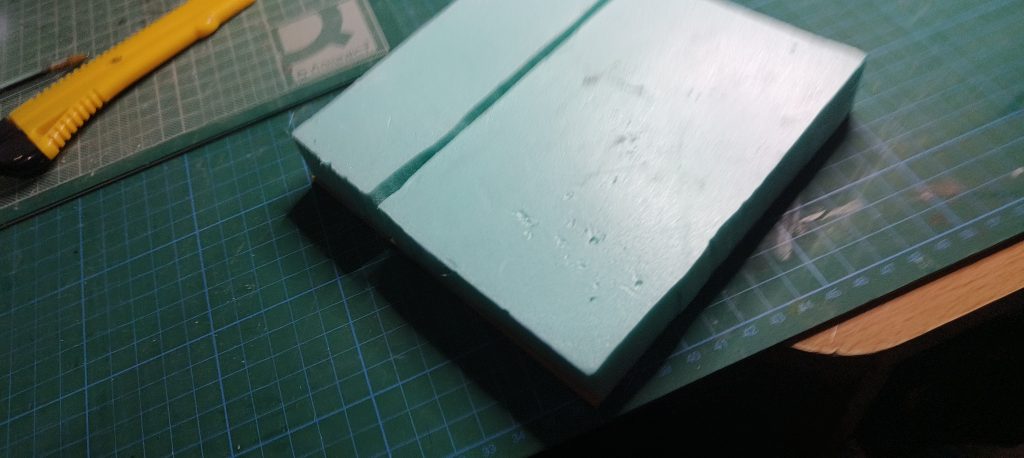
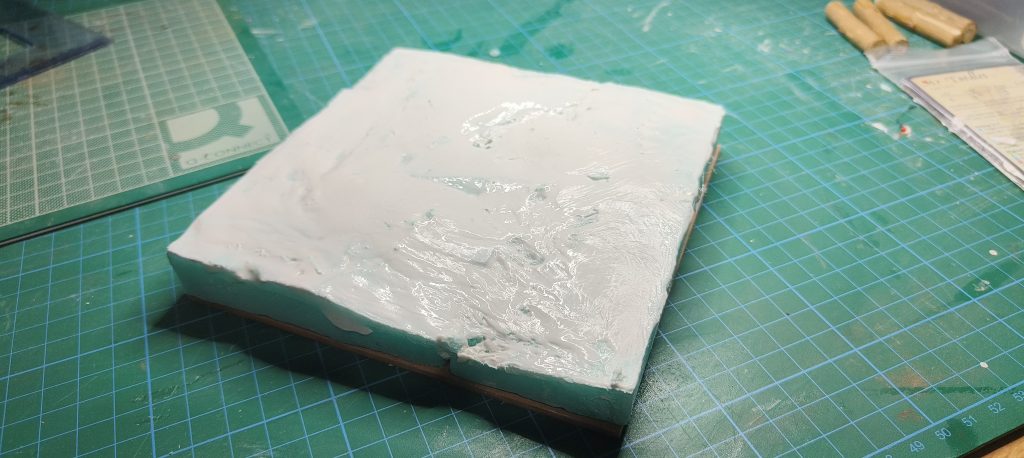
At this point I thought that I miss a concrete way to cut big chunks of foam with detail for the height I need. This would be solved by getting a proxon table cutter later on….but for now a sharp knife and my handheld proxxon heat cutter would make it as close as I could at the moment.
After the terrain was shaped with a small slope, I added a thin layer of mod podge around the whole piece to make it sturdier and safer to paint (for example rattle can). You can skip this step if you pain in any other way but still a foam used for contruction will not survive enough if it’s not enforced with other materials to make it more solid and future proof. Mod podge is amazing, it’s matte, dries like pva glue and it’s really versatile.
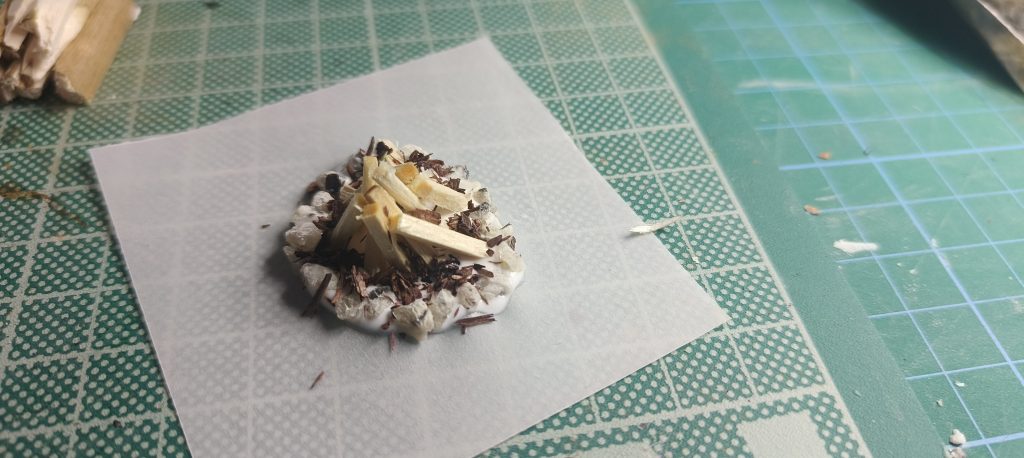
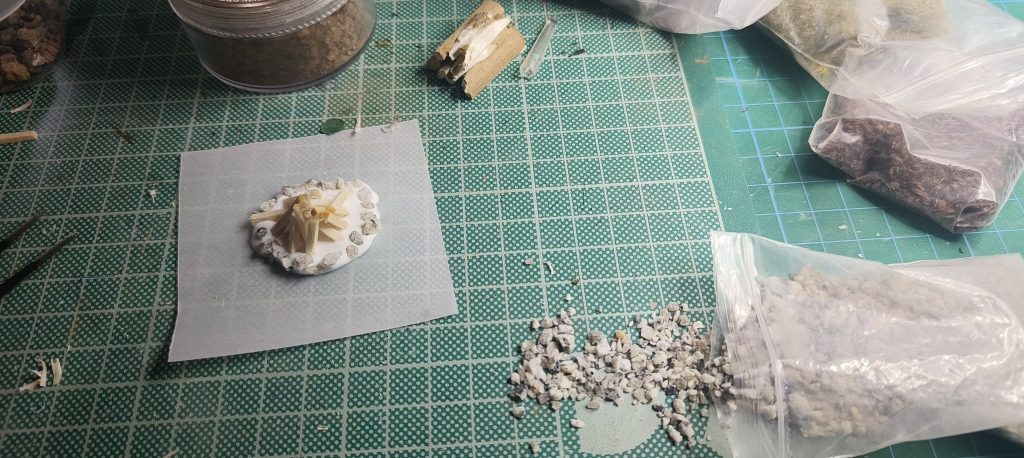
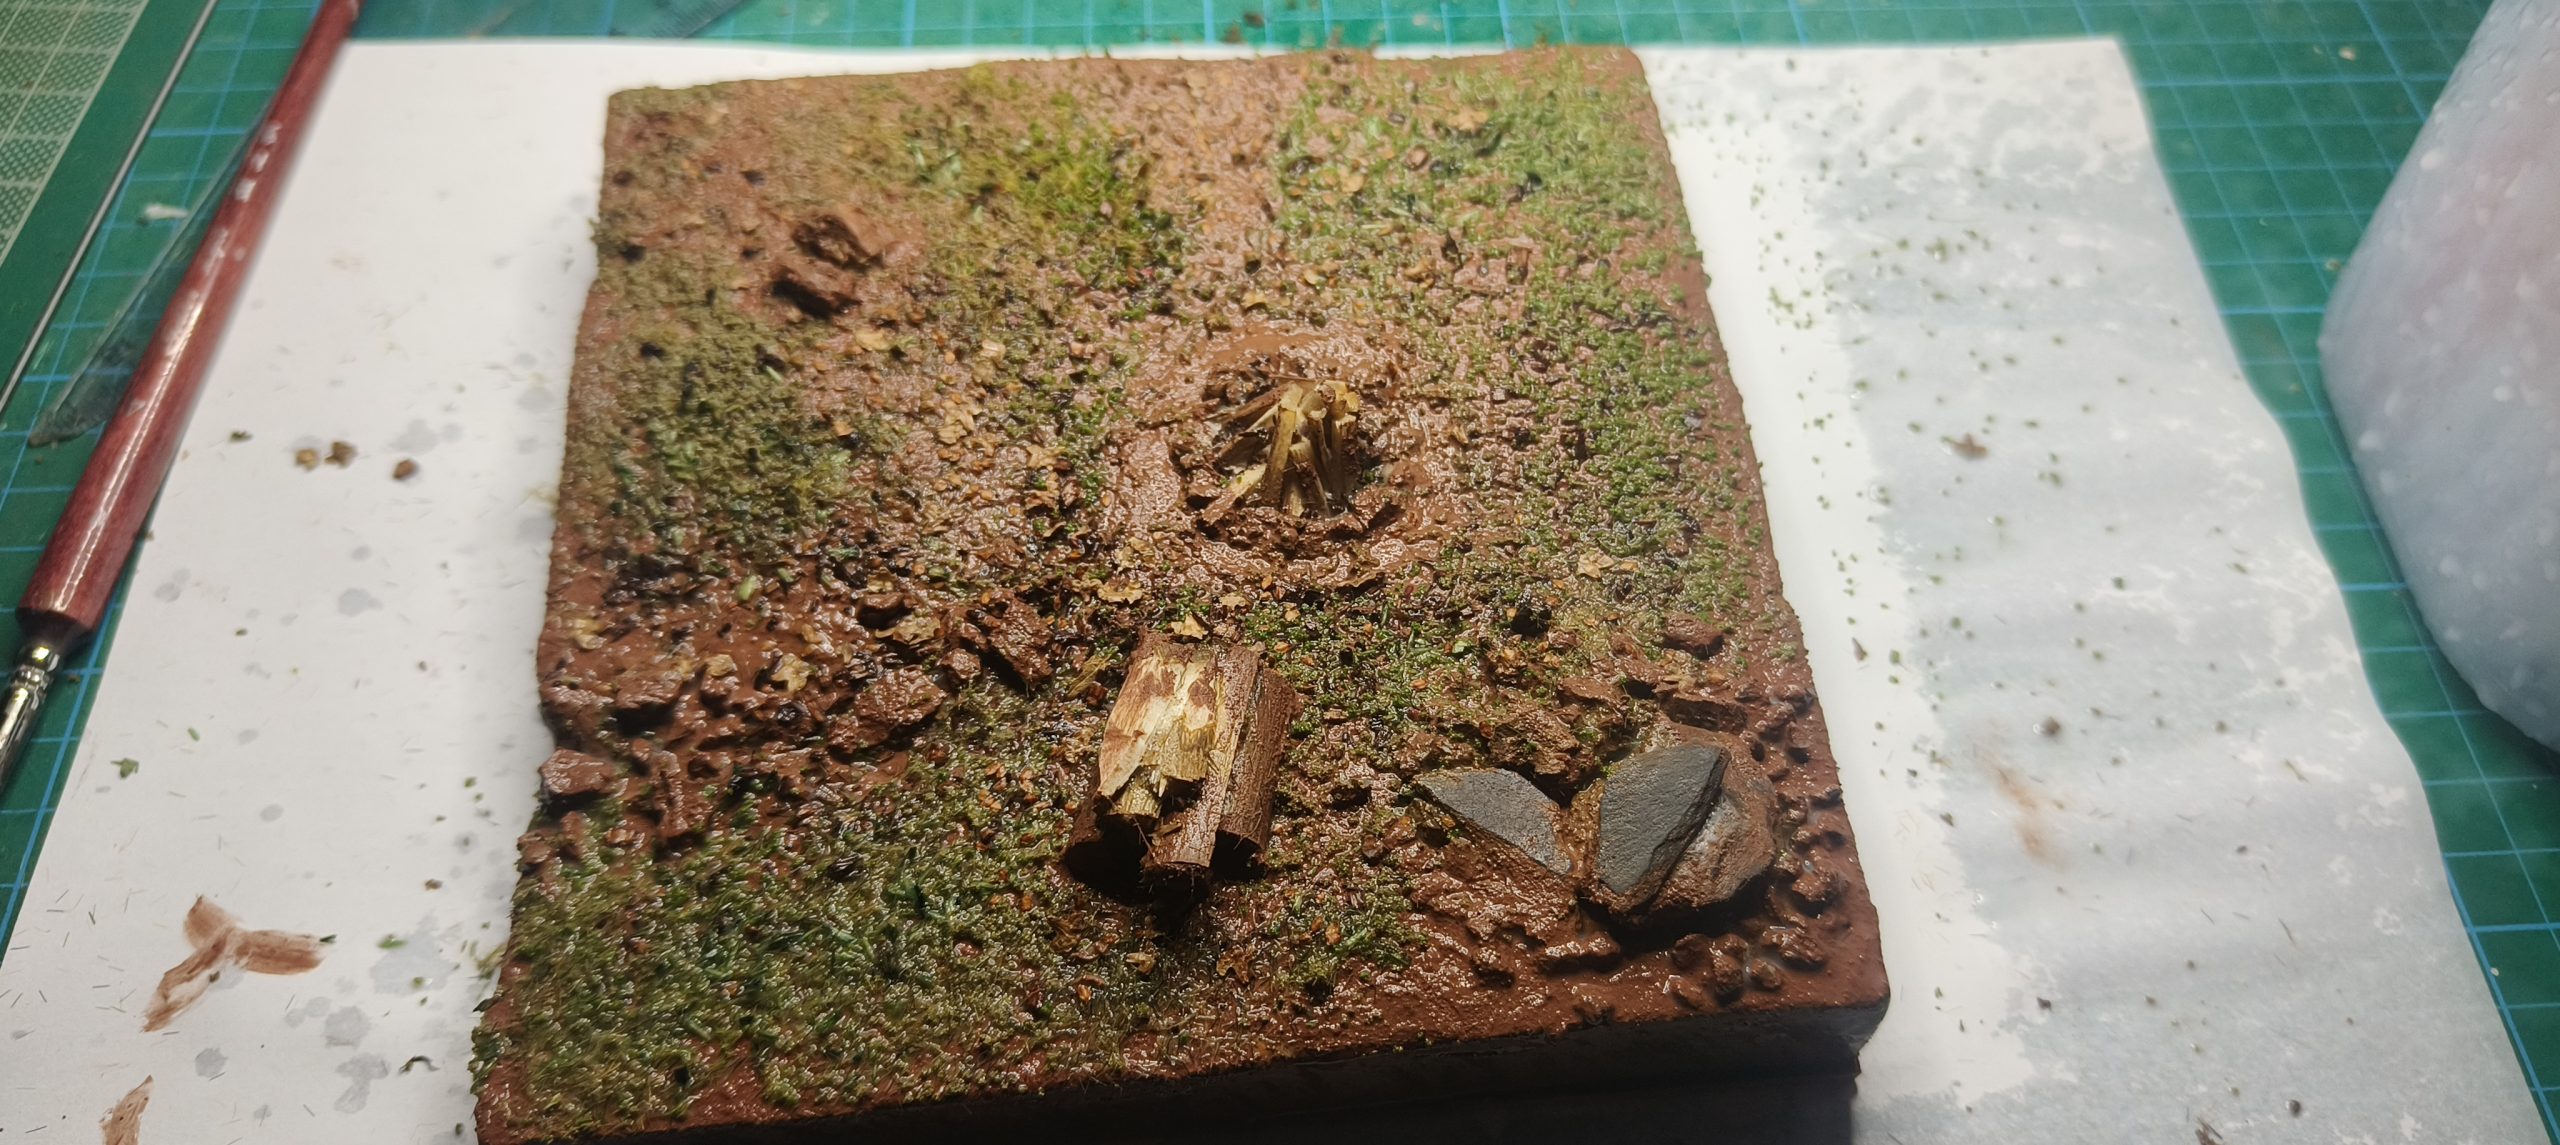
Meanwhile I made a small fireplace on top of wax paper with pva glue as a base and putting stones and wood pieces around it. Added some small miniature leaves around and after some painting this was ready to be added on the piece. Start to finish excluding the drying time it took me around 1h.
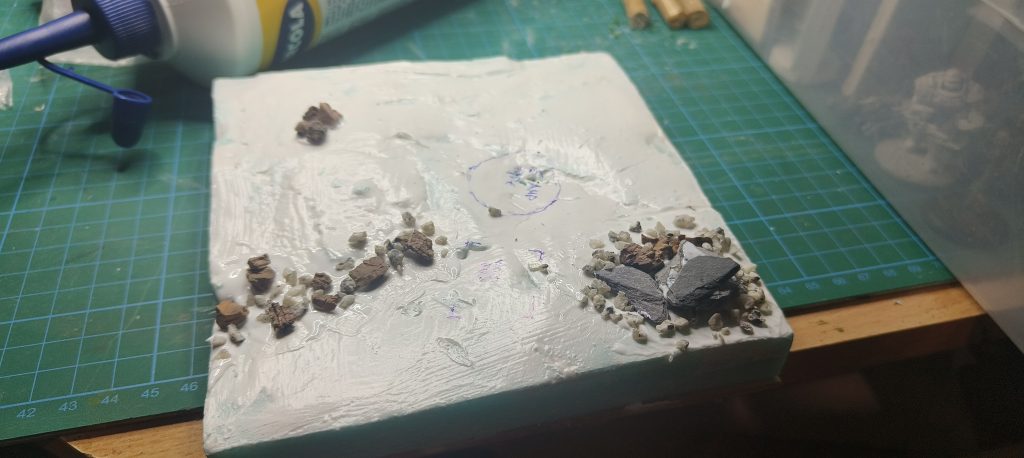
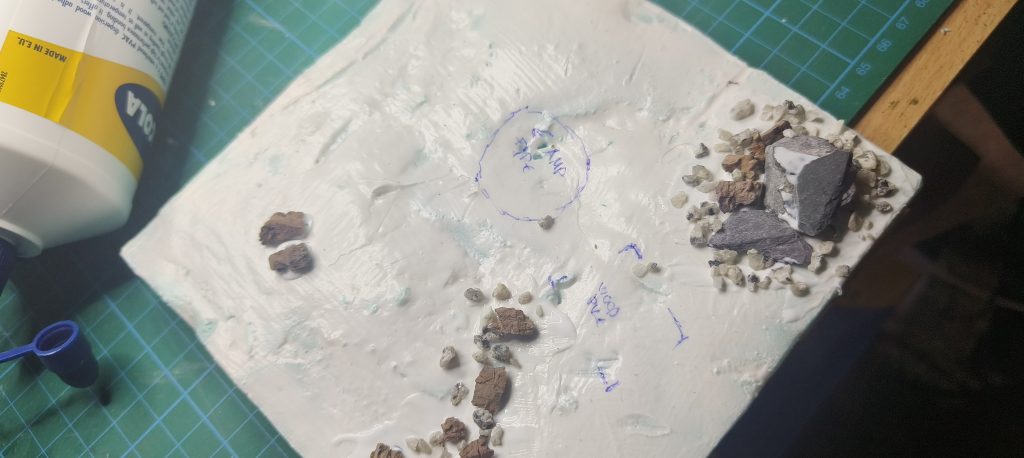
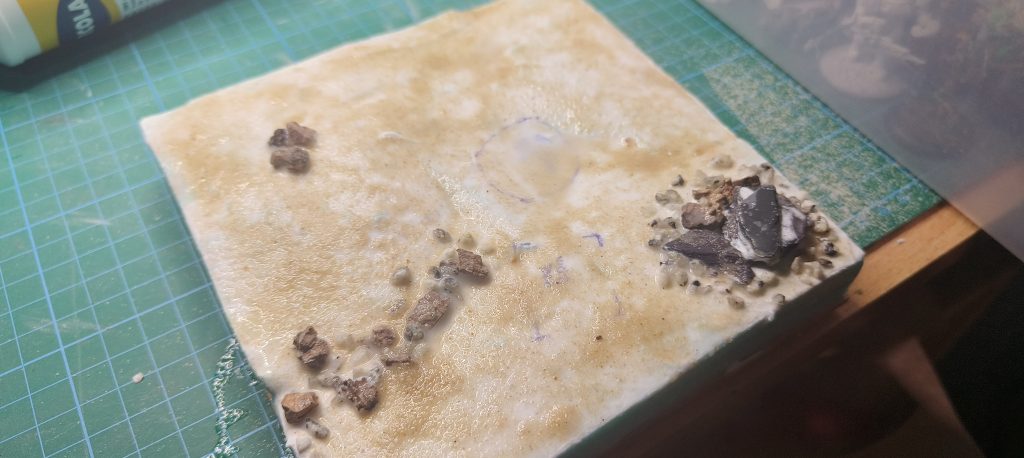
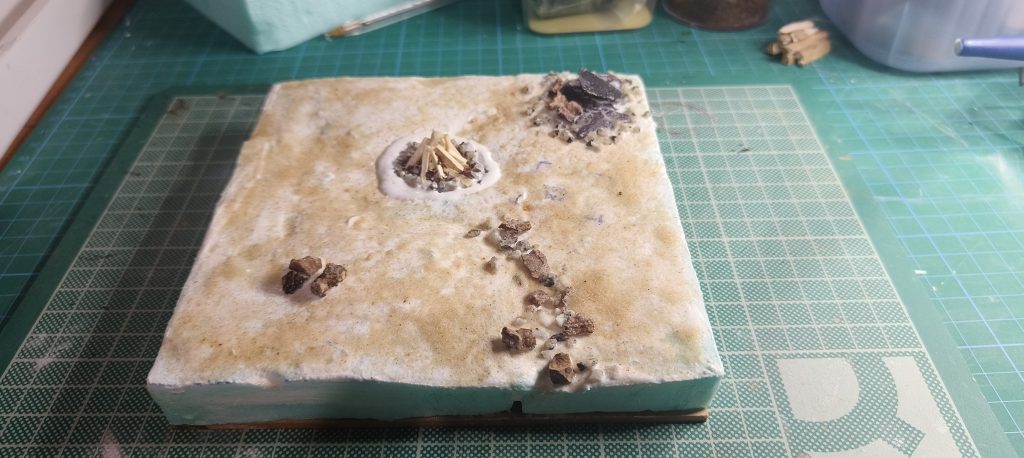
Added glue on places to add rocks and cork pieces that would resemble rocks. Both work really nice, cork is better to absorb paint and rocks are more sturdier and give already a nice look without painting them. I would use both depending which one would make sense at each spot needed.
After that I added sand on top of it to help with the texture, personally this would not make any difference if you could use any other material that could resemble ground, especially if the flock above the ground would be thick enough not to have a big patch of ground exposed. Still adding small rocks at the end or even more sand on top would be ok at specific spots, not as a way to cover the main ground.
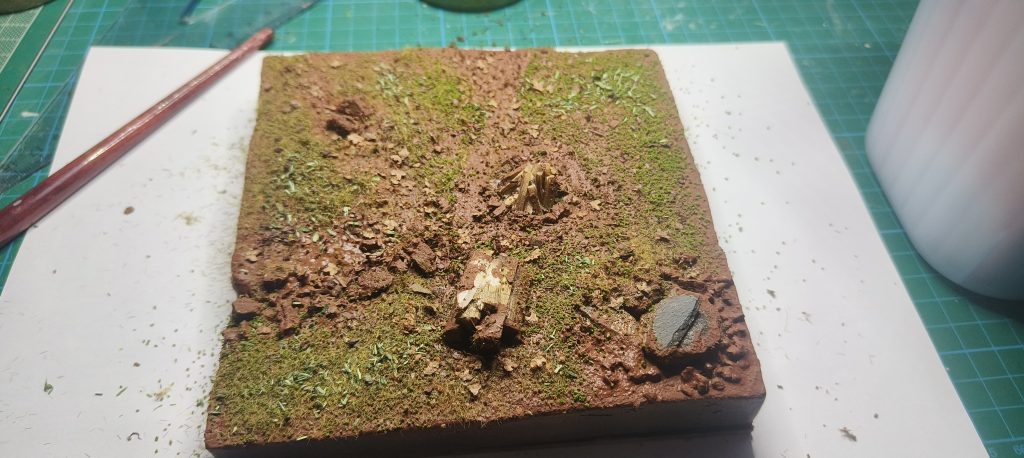
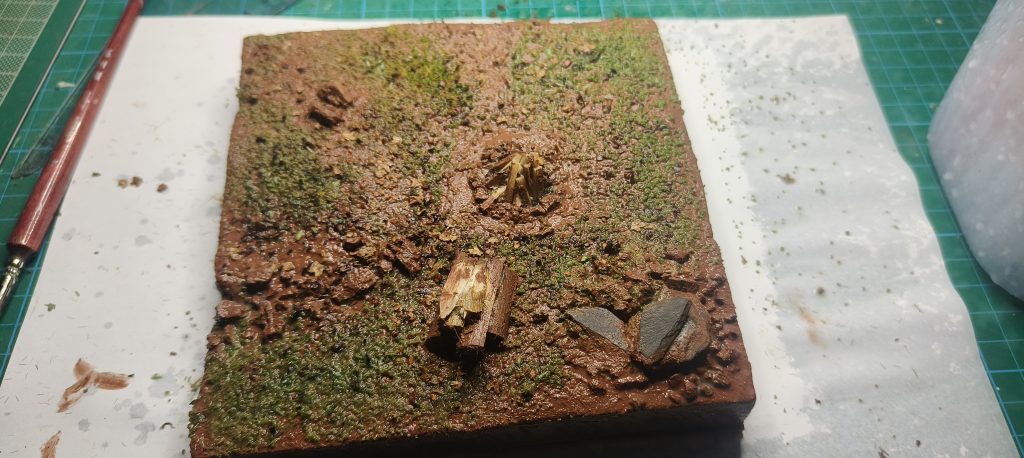
I ended up switching back to tile grout, water and some glue that makes a really good bond and seal. After this dries a layer of pod podge would be enough to hold it in place for the future. After that some different flocking was used all around to see how this would look and added a small pile of woods for the fireplace right next to it.
Result
It was a success, the material used above the foam is good, mod podge makes this whole thing work perfectly and flocking should be used quite extensively. Grass fibers is not my thing, will not survive for the future and I am too bored to pick them up from the floor for the next decade 😛
Next steps: Start making our first modular tile!